With the lab fully built, the next step is to deliberately introduce insecure configurations - the kind of misconfigurations and legacy settings that still appear in real enterprise networks more often than expected.
Legacy systems, forgotten infrastructure, rushed deployments, and weak operational practices can all create exploitable attack surfaces inside production environments.
In this part of the series, the goal is to intentionally weaken selected systems inside the Business-in-a-Box homelab while simultaneously configuring Wazuh to monitor and detect the resulting attack activity.
⚠️ Disclaimer: Every configuration change in this section is strictly for the homelab. None of this should be applied to a production environment.
Before starting, ensure all VMs are up and Wazuh has been fully configured with agents deployed to the relevant machines.
What We’re Doing (and Why)
Each misconfiguration below is paired with a detection note explaining how Wazuh catches the resulting activity. This is the blue team layer sitting alongside the red team setup.
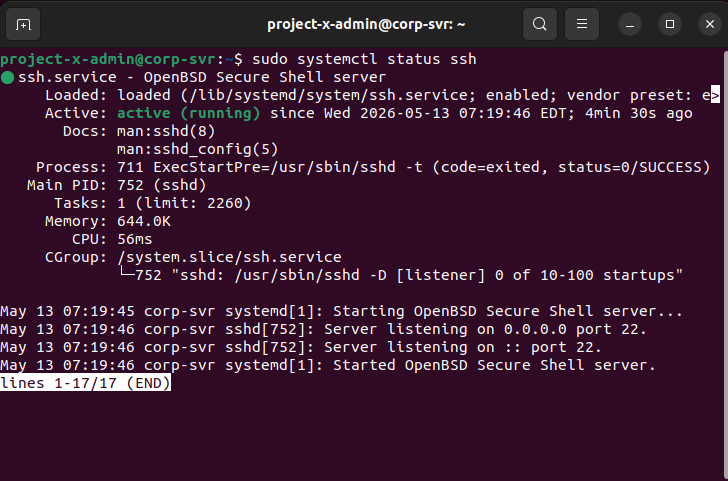
1. Enable SSH on project-x-corp-server
We open SSH on the corporate server and deliberately weaken its configuration by enabling password authentication and permitting root login — two settings that are disabled by default for good reason.
Commands run on project-x-corp-server:
| |
In /etc/ssh/sshd_config, we make two key changes:
PasswordAuthentication yesPermitRootLogin yes
Then set root’s password and restart SSH:
| |

🔍 Detection Note:
project-x-corp-serverdoes not have a Wazuh agent installed. This is intentional — it demonstrates the detection gap that exists when a machine has no endpoint monitoring. An attacker could brute-force this box and no SIEM alert would fire.
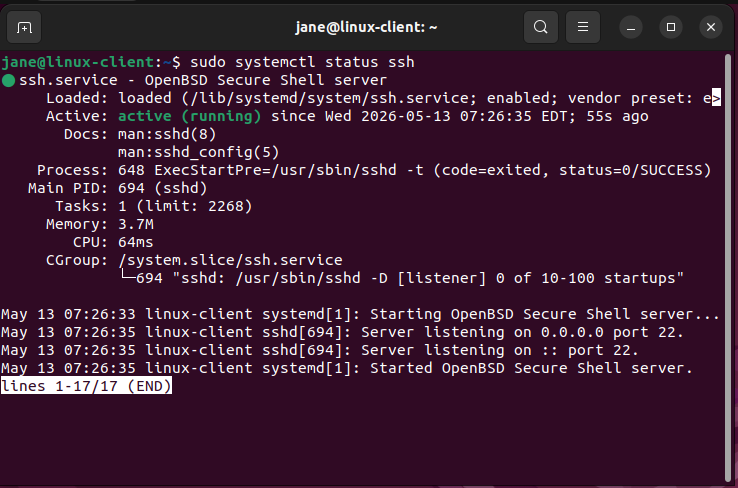
2. Enable SSH on project-x-linux-client
The same process is applied to the Linux client machine, with one key difference — this machine does have a Wazuh agent, so failed SSH attempts will be caught.
| |
Enable password authentication in /etc/ssh/sshd_config and restart SSH as above. Also set root’s password to november.
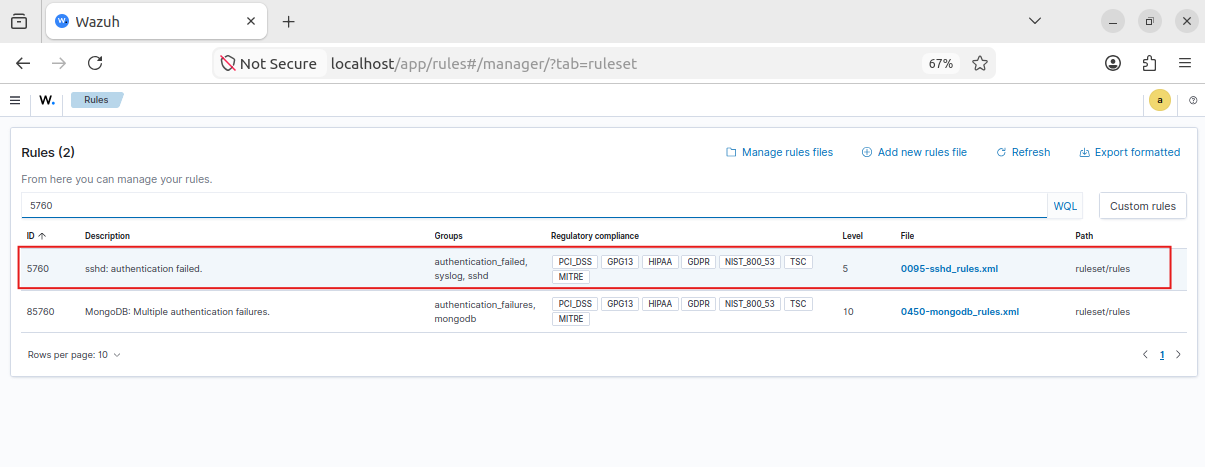
🔍 Detection Note (Wazuh Rule ID: 5760): Wazuh has a built-in rule that fires on
sshd: authentication failedevents. View it under Server Management -> Rules -> 5760.
Creating a Wazuh Alert for Failed SSH:
In Explore -> Alerting -> Monitors, create a new monitor with the following:
- Title:
3 Failed SSH Attempts - Data source index:
wazuh-alerts-4.x-*, Time field:@timestamp - Data filters:
process.name = sshdandrule.groups = authentication_failed - Trigger condition: count > 2, Severity: Medium (3)
3. Configure the MailHog SMTP Email Connection

MailHog should already be running from the setup phase. Confirm the container is active on project-x-corp-server:
| |
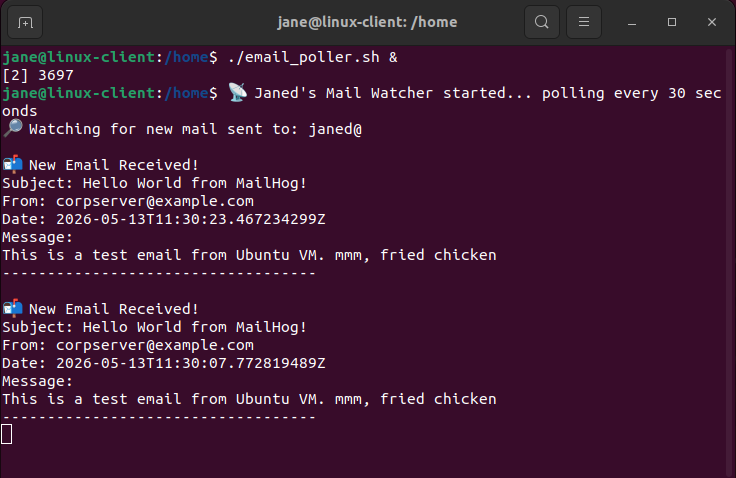
On project-x-linux-client, start the email poller in the background:
| |
This script polls the MailHog API every 30 seconds and simulates a user checking their inbox — a critical piece for the phishing simulation in Part 3.
🔍 Detection Note: Since
project-x-corp-serverhas no Wazuh agent, email activity originating from it creates a monitoring blind spot — intentionally mirroring real-world scenarios where email infrastructure goes unmonitored.
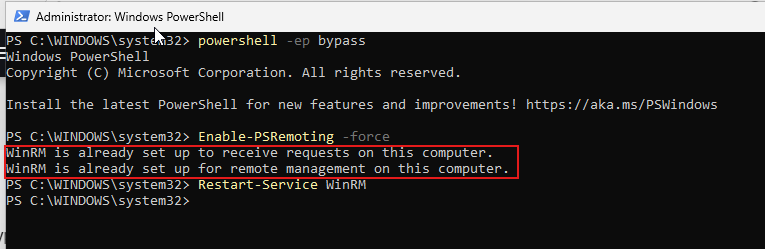
4. Enable WinRM on project-x-win-client
Windows Remote Management (WinRM) is a legitimate administration protocol, but it’s a commonly abused attack path for lateral movement. We enable it on the Windows client to expose this surface.
Open an Administrator PowerShell session on project-x-win-client and run:
| |
🔍 Detection Note (Wazuh Rule ID: 60106): WinRM connections use Kerberos authentication, which generates Windows Event ID
4624withlogonProcessName: Kerberos. Wazuh catches this under rule 60106 (Windows Logon Success).
Creating a Wazuh Alert for WinRM Logon:
Create a monitor titled “WinRM Logon” with:
- Data filters:
data.win.eventdata.logonProcessName = Kerberosanddata.win.system.eventID = 4624 - Trigger condition: count > 1, Severity: Medium (3)
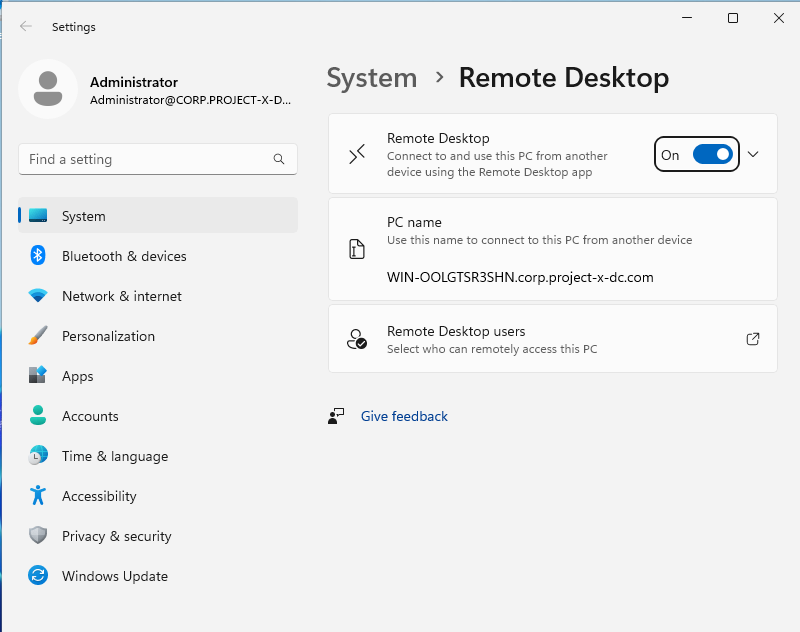
5. Enable RDP on project-x-dc (Domain Controller)
Navigate to Settings -> System -> Remote Desktop on the domain controller and toggle it On. This exposes RDP (port 3389) on the DC — the highest-value machine in the network.
🔍 Detection Note (Wazuh Rule ID: 92653): Successful RDP logins generate Event ID
4624withlogonProcessName: User32. Search for it in Wazuh under Explore -> Discover usingdata.win.eventdata.logonProcessName: User32.
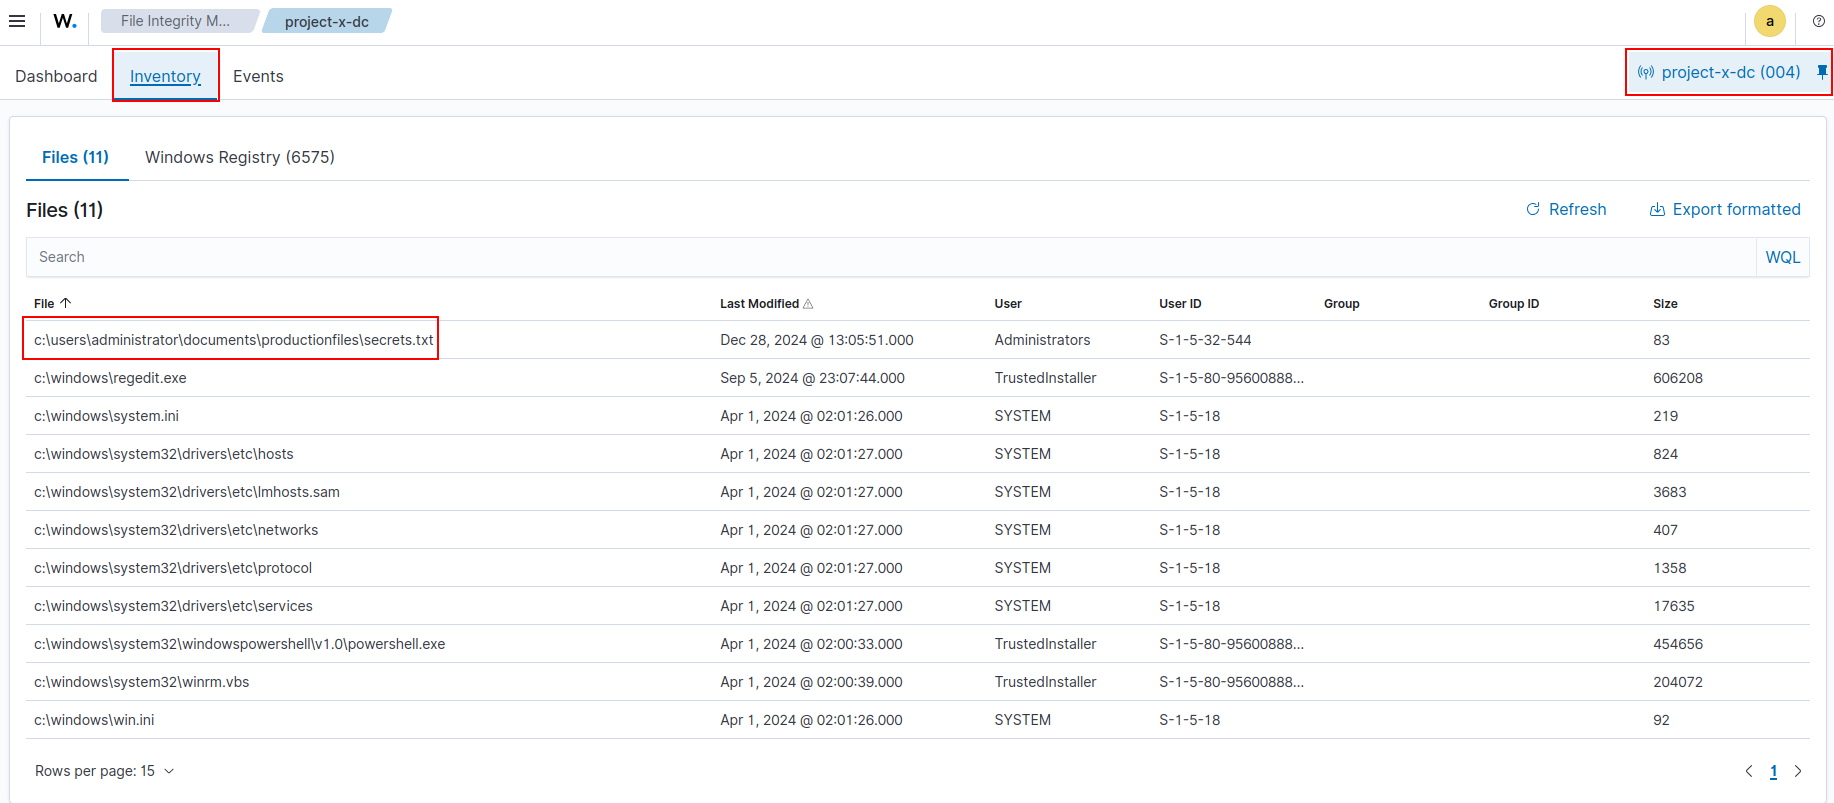
6. Create a Sensitive File on project-x-dc
This simulates the crown jewels of our fictional company. On the domain controller, create:
- Path:
C:\Users\Administrator\Documents\ProductionFiles\secrets.txt - Content: anything representing sensitive data (the lab uses
DEEBOODAH)

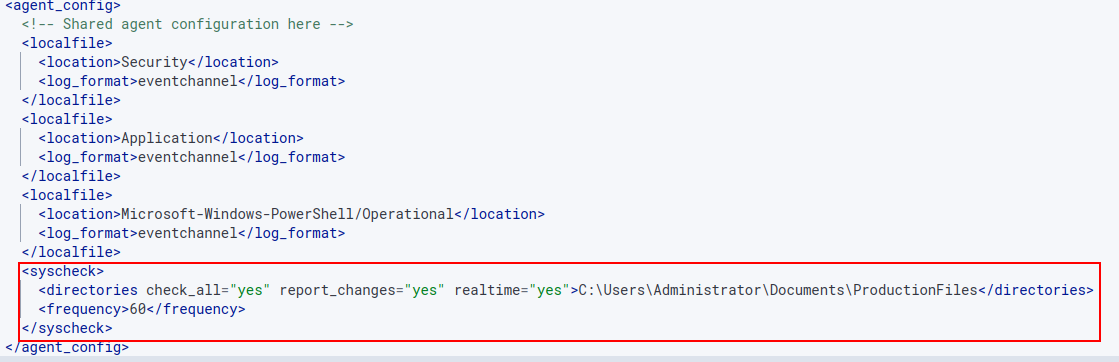
Configure Wazuh File Integrity Monitoring (FIM):
In Wazuh, go to Server Management -> Endpoint Groups -> Windows -> Files -> agent.conf and add:
| |
Creating a Custom FIM Alert:
In Server Management -> Rules -> local_rules.xml, add:
| |
Then create a Wazuh monitor titled “File Accessed” with:
- Data filters:
syscheck.event = modifiedandfull_log contains secrets.txt - Trigger condition: count > 1, Severity: High (2)
7. Prepare the Exfiltration Target on project-x-attacker
Enable SSH on the Kali machine and create a placeholder file for the incoming exfiltrated data:
| |
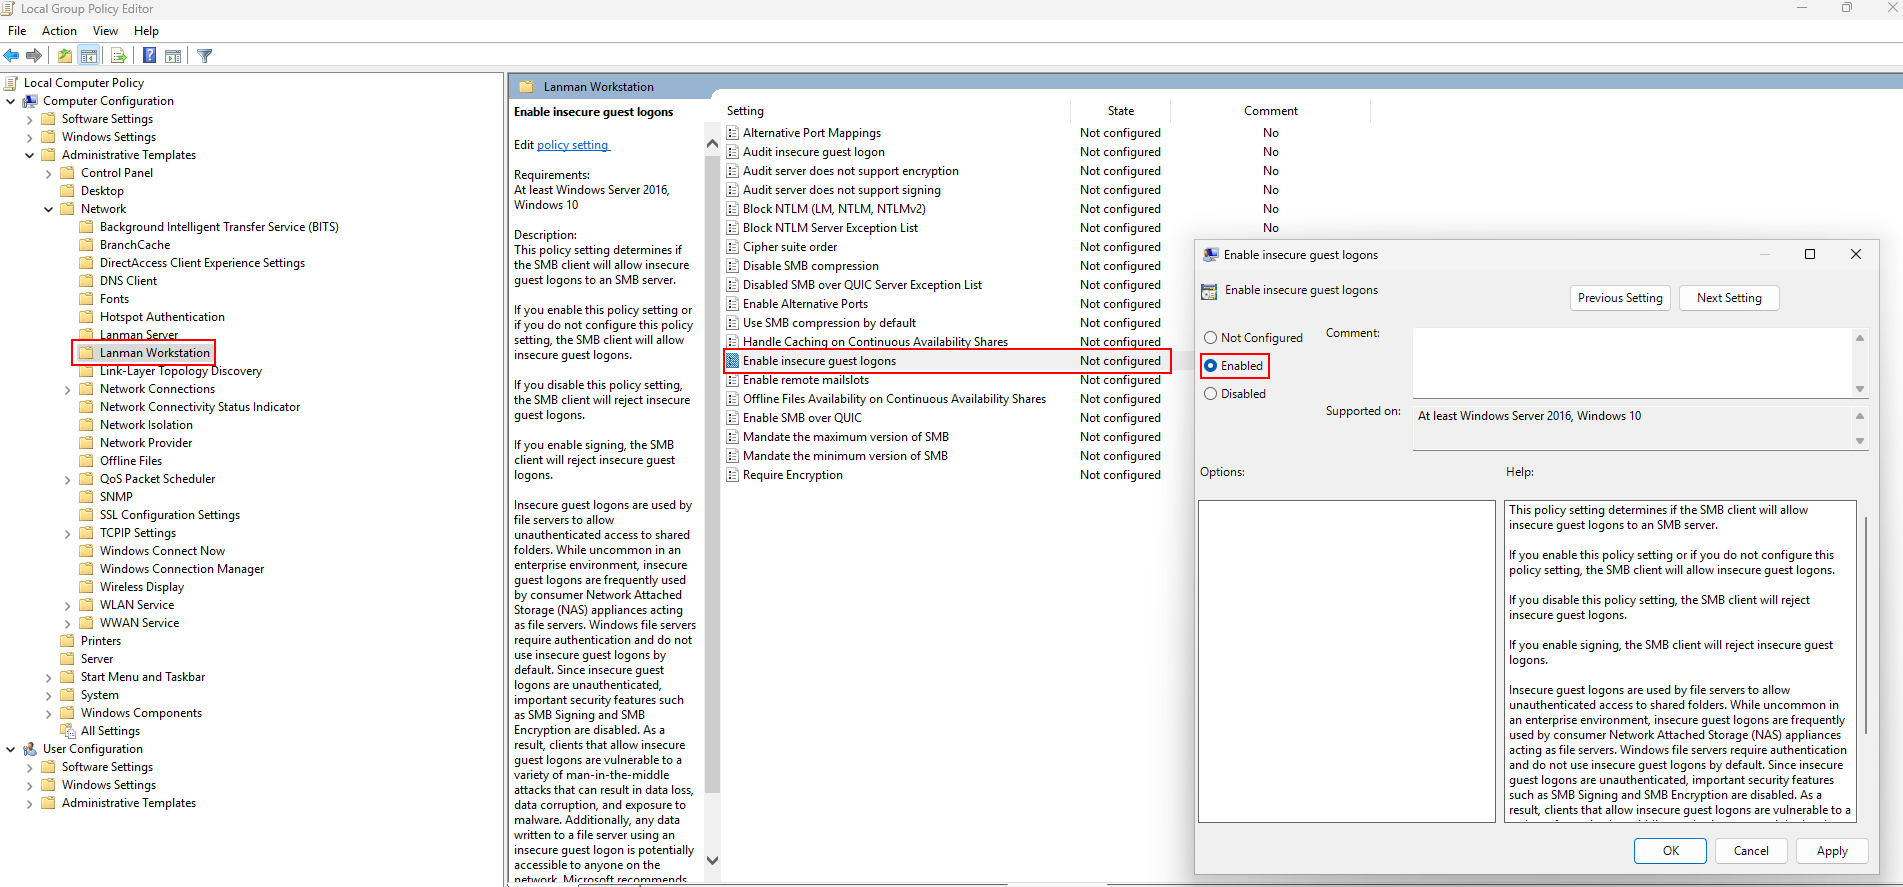
On project-x-win-client, open gpedit.msc (navigate to C:\Windows\System32\gpedit.msc, right-click, Run as Administrator), then enable:
Computer Configuration -> Administrative Templates -> Network -> Lanman Workstation -> Enable insecure guest logons (set to Enabled)
Then run in PowerShell:
| |
The lab is now intentionally vulnerable and monitored. In Part 3, we run the actual attack — following the full cyber attack lifecycle from reconnaissance all the way to persistence.